
Before you begin
- Aarav Mehta should already be a registered CareOS patient for the patient-linked billing example (see "Register a Patient and Book an OPD Appointment"). The walk-in / historical billing workflow does not require any existing patient record.
Step-by-step instructions
10 steps- 1
Open All Bills
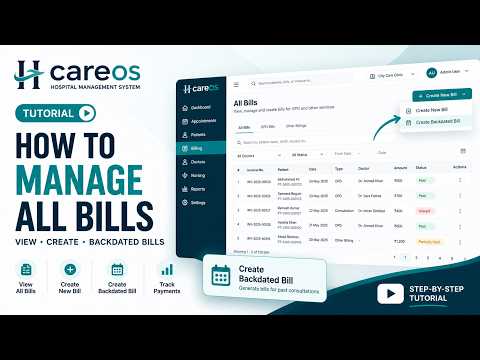
Sign in and open All Bills from the sidebar to see the billing register: invoice number, bill date, patient, purpose, total, discount, paid amount, balance due, and status for every bill.
- 2
Choose the patient
Select Create New, then search by patient name, mobile number, or patient ID and select the correct patient — Aarav Mehta for this example.
- 3
Add catalog items
The billing workspace keeps the patient visible with a Bill Date defaulted to today (future dates are blocked). Use the catalog search to add Consultation and CBC — catalog prices and the invoice summary update automatically.
- 4
Add a custom line and Bill Purpose
For a charge that is not in the catalog, select Add custom or ad-hoc item, enter a description, unit price, and quantity, then add the required Bill Purpose that prints on the invoice.
- 5
Collect payment and save
In Invoice and Collection, select Collect Now, choose a payment method and amount (Auto Full fills the full payable amount), review the totals, then select Save & Print Bill. CareOS saves the bill and assigns its invoice number before opening the A4 preview.
- 6
Review and print the invoice
The A4 preview shows the hospital letterhead, patient, invoice date, items, totals, and balance due. Switch between black & white and colour, adjust the zoom, then select Print — the browser's own print dialog handles printer, paper, and tray.
- 7
Verify the saved invoice
Close the preview to return to All Bills, where the newly created invoice appears in the register with its updated paid and due amounts.
- 8
Start a walk-in / historical bill
Select Create New, then choose to create a bill without a patient. The workspace switches to Walk-in billing, and the Bill Date can be changed to an earlier date — future dates remain unavailable.
- 9
Record the historical charge and save as unpaid
Add the historical charge as a custom line with the exact recorded amount and a Bill Purpose identifying the record. Select Collect Later, choose when payment is expected, then Save Draft to store a real unpaid invoice without printing.
- 10
Verify the historical bill
Back in All Bills, the backdated invoice is listed under its actual date with Walk-in as the patient and an unpaid balance. Open it to review the line items and totals — from here an authorised user can view the invoice, print it, or collect payment later.